As we all know, GitHub often exists in a Schrödinger state of being available or unavailable. If your code is hosted there, you might need “magic” to access it during emergencies.
Clearly, not everyone is a magician. So, having a self-hosted code repository that stays accessible would be ideal.
While Gitee is a major code hosting platform in China, for those who simply want to store their code without expecting forks, setting up a private service is the best choice.
Prominent open-source hosting options include GitLab, Gitea, and Gogs.
GitLab offers the most features and is the most resource-heavy, requiring at least 4GB of RAM. For personal or small teams (3-5 people), its redundant features add unnecessary overhead.
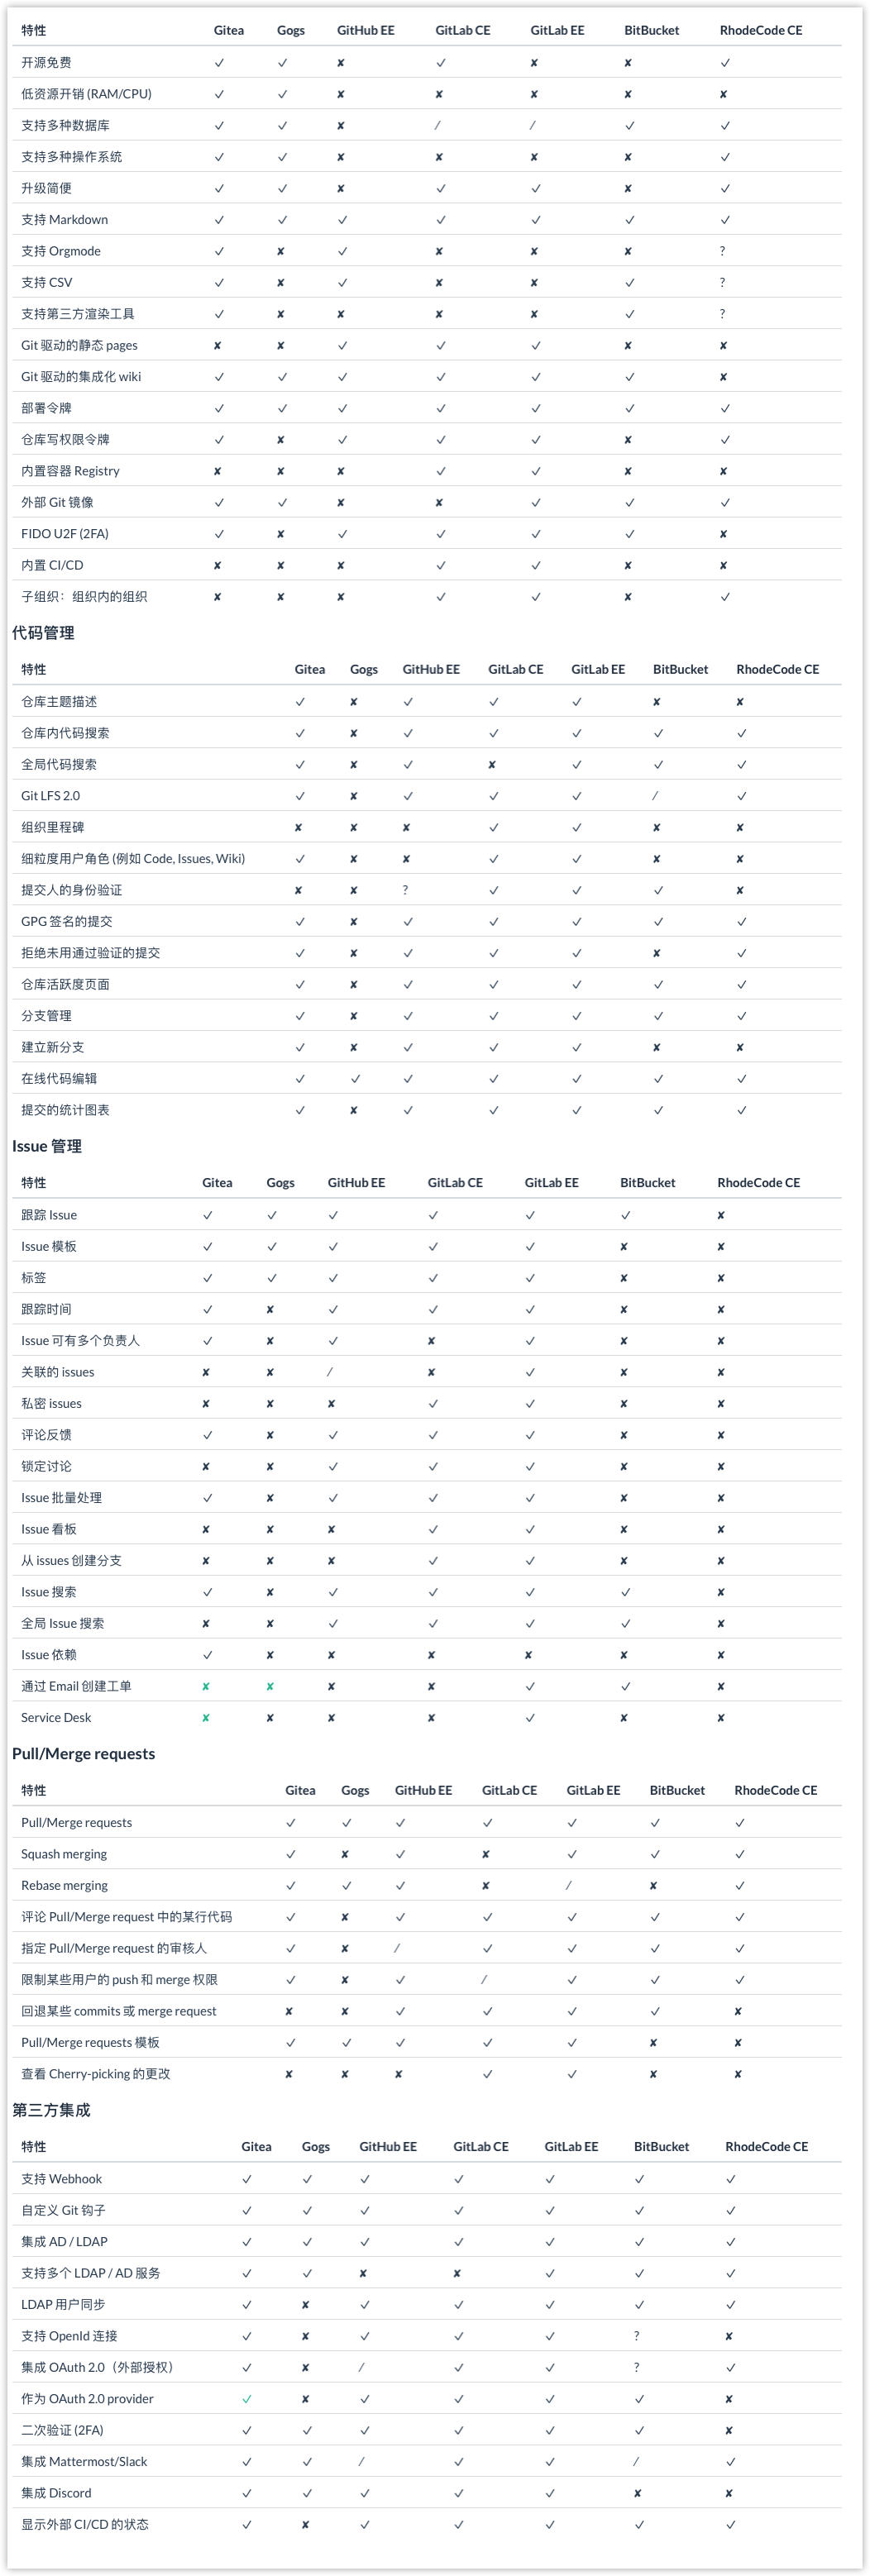
This is a feature comparison chart from Gitea’s official website
Gogs and Gitea are lightweight Go-based solutions that run smoothly even on resource-constrained devices like Raspberry Pi Zero (though performance may lag compared to more powerful hardware).
Gitea adds essential features like GPG signature submissions compared to Gogs. However, memory usage is significantly higher: on a Raspberry Pi, Gogs uses 20-30MB RAM while Gitea consumes 100-200MB. Thus, I don’t recommend Gitea for Raspberry Pi 1/2/Zero with <1GB RAM.
This guide focuses on Raspberry Pi 4B Gitea installation. Gogs setup for Raspberry Pi Zero is covered in a separate article.
I. Preparations
- Update package lists and software:
sudo apt update // Update sources
sudo apt upgrade // Upgrade packages
- Install dependencies:
sudo apt install mariadb-server git unzip
- Secure MySQL installation:
sudo mysql_secure_installation
This process sets the root password, which must be saved for MySQL-dependent applications.
- Enter MySQL CLI:
sudo mysql -u root -p
Enter the root password when prompted.
- Create Gitea database:
CREATE DATABASE gitea;
- Create a dedicated user for Gitea database security:
GRANT ALL PRIVILEGES ON gogs.* TO 'username'@'localhost' IDENTIFIED BY 'password';
- Refresh privileges:
FLUSH PRIVILEGES;
Exit MySQL CLI with
Ctrl+DorexitCreate a dedicated system user for Git operations:
sudo adduser --disabled-login git
Named git by default (recommended to keep this name as Gitea uses it by default).
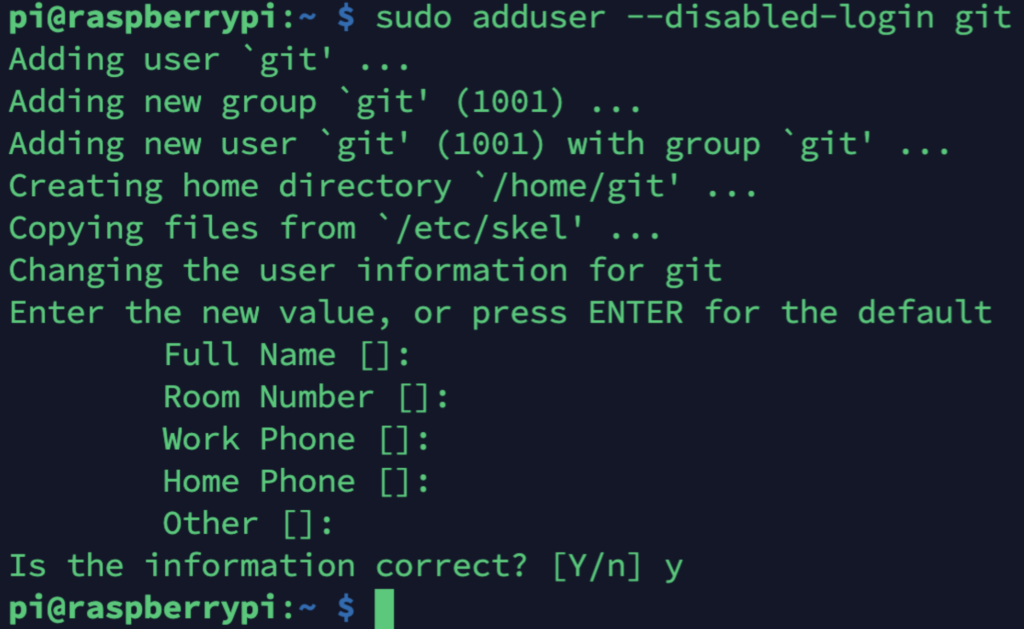
Reference image (not my own screenshot).
II. Installing Gitea
- Raspberry Pi OS (Debian-based) requires binary installation since Gitea doesn’t provide Linux-specific packages:
cd /home/git
sudo wget https://dl.gitea.io/gitea/1.12.2/gitea-1.12.2-linux-arm64 -O gitea
Download destination: /home/git (ARM64 version for my 64-bit Raspberry Pi OS test build - adjust versions/architectures as needed). Download link.
- Grant execution permissions:
sudo chmod +x gitea
Test run:
./gitea web
Press Ctrl+C to stop.
- Configure as systemd service:
Two methods available. This guide uses systemd; see official docs for supervisor setup.
Create service file:
sudo nano /etc/systemd/system/gitea.service
Paste modified official example:
[Unit]
Description=Gitea (Git with a cup of tea)
After=syslog.target
After=network.target

[Service]
RestartSec=2s
Type=simple
User=git
Group=git
WorkingDirectory=/home/pi/gitea/  // Set to Gitea binary directory
ExecStart=/home/pi/gitea web --config /home/pi/custom/conf/app.ini  // Config path
Restart=always
Environment=USER=git HOME=/home/git GITEA_WORK_DIR=/home/pi/  // Adjust paths
...

[Install]
WantedBy=multi-user.target
Load and start service:
sudo systemctl daemon-reload
sudo systemctl start gitea
Enable auto-start:
sudo systemctl enable gitea
Installation complete.
III. Configuring Gitea
- Access via
<IP>:3000:
http://<IP Address>:3000
- First-run setup after clicking “Sign In”:
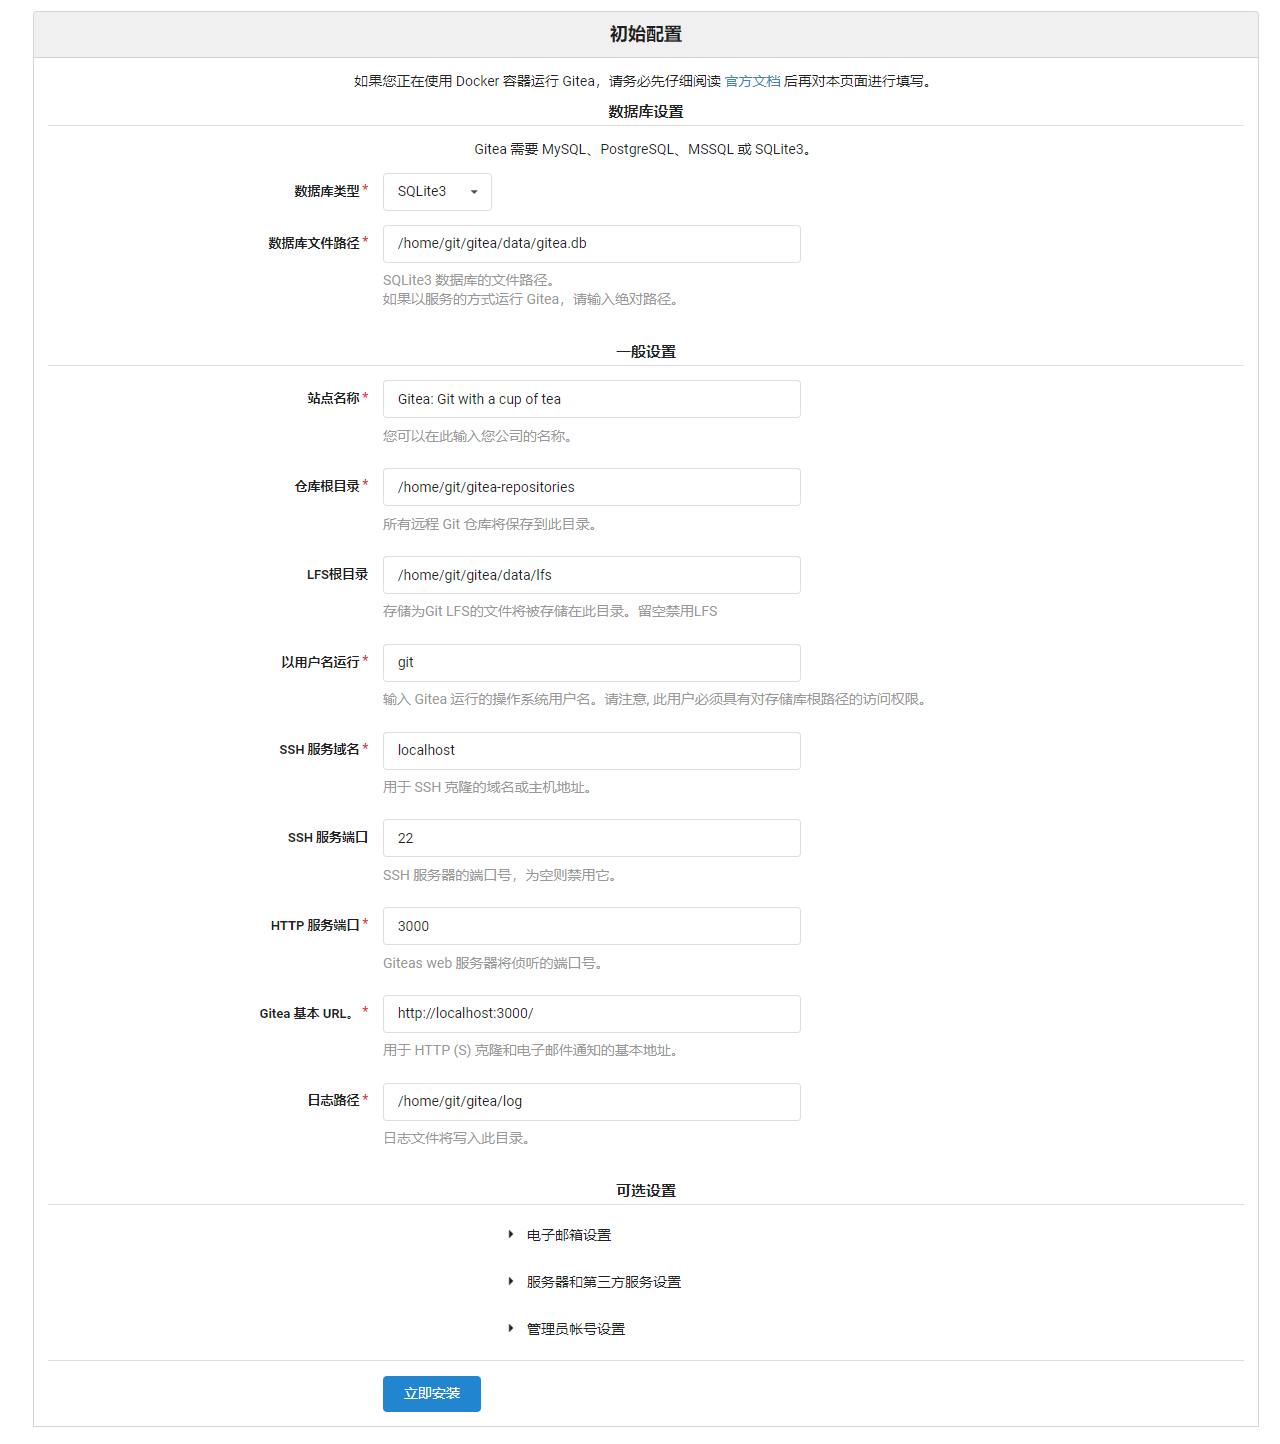
Database: MySQL using the dedicated user/password.
Domain/URL: Fill domain if available, else configure later via:
sudo nano /home/git/custom/conf/app.ini
Email settings require SMTP port inclusion (e.g., stmp.qq.com:465).
The first created account becomes admin by default.
Avatar settings may require “magic” in China.
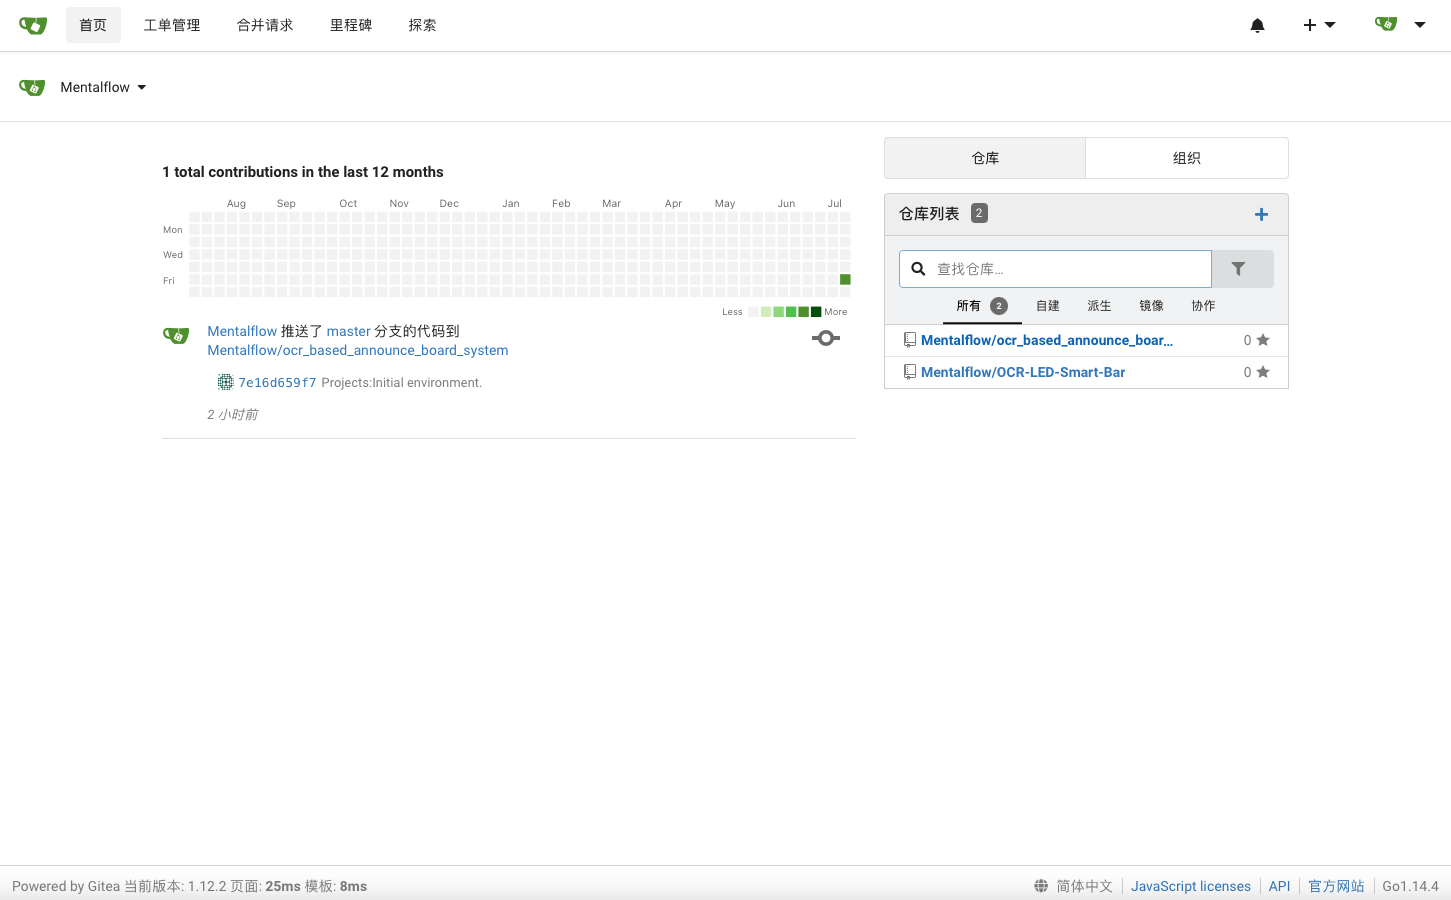
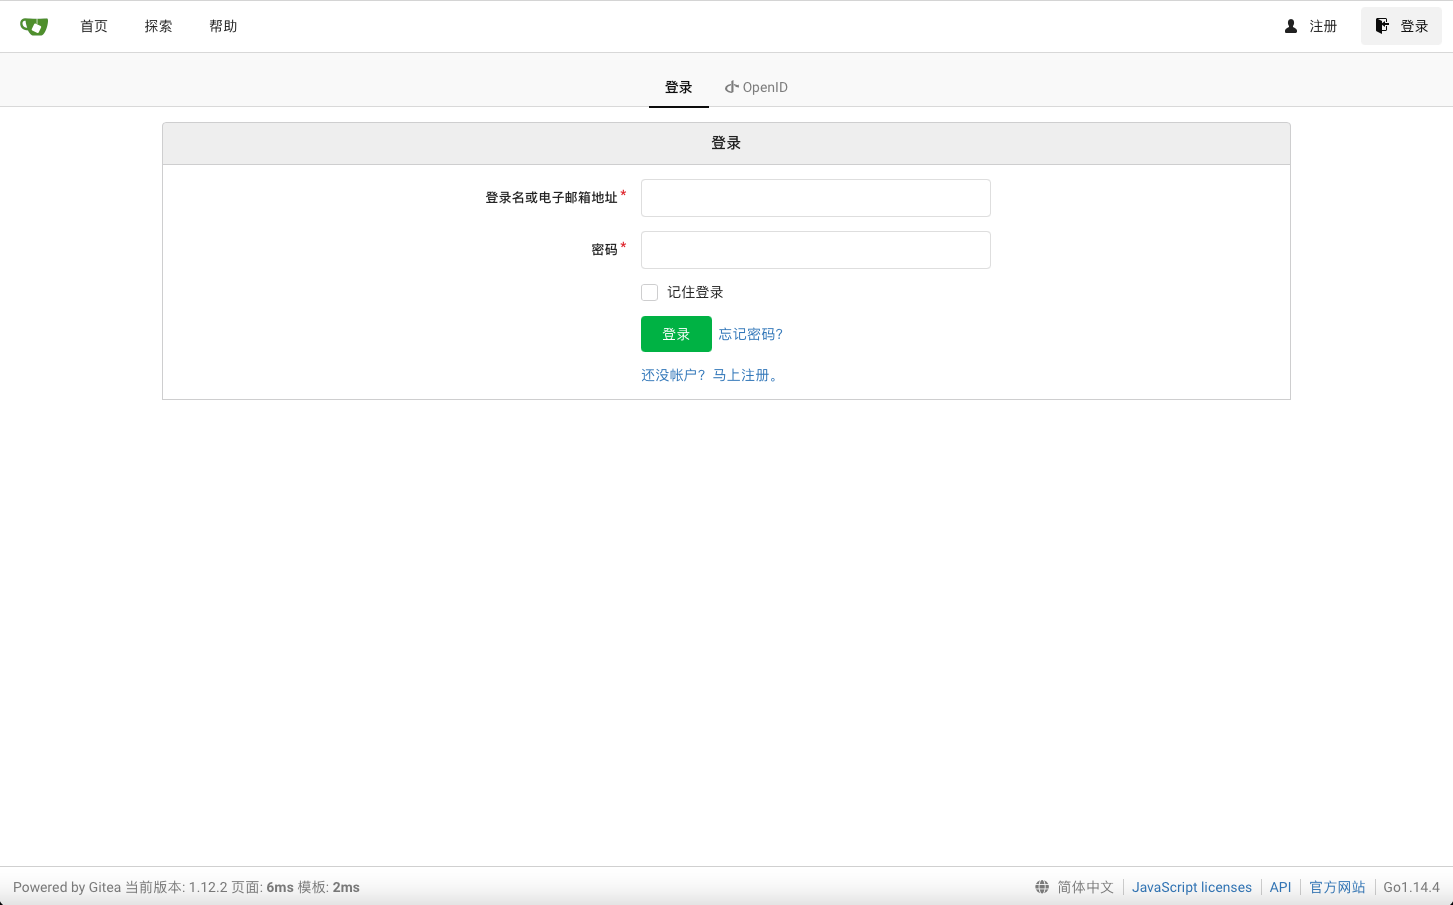
Final success screen:
IV. Reverse Proxy
To access via domain, configure Nginx (Apache instructions here).
HTTPS Configuration
Method 1: Via app.ini
PROTOCOL = https
CERT_FILE = /path/to/cert.pem
KEY_FILE = /path/to/key.pem
Update proxy_pass to https://localhost:3000.
Method 2: Nginx Configuration
server {
    listen 80;
    listen [::]:80;
    server_name git.ourdocs.cn;
    rewrite ^(.*)$ https://$host$1 permanent;
}

server {
    listen 443 ssl;
    listen [::]:443 ssl;
    ssl_certificate /home/pi/Csr/*.ourdocs.cn_chain.crt;
    ssl_certificate_key /home/pi/Csr/*.ourdocs.cn_key.key;
    ssl_protocols TLSv1 TLSv1.1 TLSv1.2;
    ssl_ciphers ECDHE-RSA-AES128-GCM-SHA256:HIGH:!aNULL:!MD5:!RC4:!DHE;
    server_name git.ourdocs.cn;
    location / {
        proxy_pass http://localhost:3000;
    }
}
Reload Nginx:
sudo nginx -s reload
Final screenshot: